The first question that may be coming to your mind is, what exactly is a heat press, and when would I need it?
A heat press machine is a modern tool to print custom artwork and designs onto a t-shirt. This is a very important tool for individuals with t-shirt businesses or those looking for a creative design outlet. These devices are perfect for creating t-shirts for employee events, sports teams, or just creatively expanding your wardrobe!
Now that you’ve familiarized yourself with this tool, it’s time to hop into our how-to guide!
1. Choose your Press
Step one of this process should be deciding on a heat press that works best for you and your needs. For example, what do you think you will be pressing on?
There are small heat presses, as well as large. In addition, some presses come with attachments for hats and mugs and some that only work best for t-shirts.
Once you determine your goals, you can make an educated decision on which product would work best for you and your needs.
2. Choose your Material
While heat pressing is a rather versatile tool that can be used for many different types of fabrics and items, there are some items that will not work well with this tool.
When using a heat pressing tool, do not use thin materials or synthetic items. Instead, the best products include cotton, nylon, polyester, and spandex.
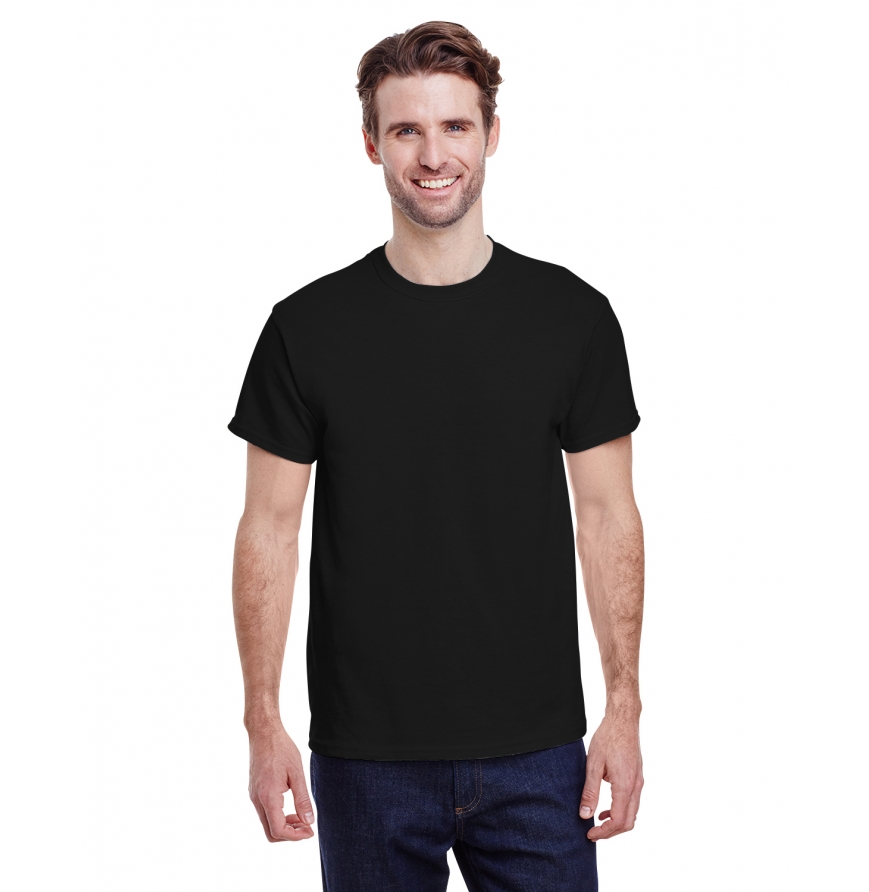
We recommend cotton items, as they work the best. Interested in cotton T-shirts? Our most popular unisex products at AllDayShirts include the Gildan G500 or the Bella + Canvas 3001C. On the other hand, maybe you want to print on hoodies. Some of our best heat transfer hoodies are the G185 or the 3729.
Shopping for women’s or children’s clothing? Don’t worry. our company has a multitude of colors and sizes for everyone. Feel free to check out our website here.

The Gildan G500
3. Choose your Design
There are limitless possibilities and design options for these items. Websites like Etsy have thousands of designs that individuals can use, or you can opt for creating your own designs.
You should work on your artistry skills in software like Adobe Illustrator or CorelDraw. That way, you’ll be able to combine a good idea with a nice visual representation.
4. Print your Design
One of the most important parts of the heat pressing process is the transfer paper. Transfer paper is a sheet with wax and pigment that your design is printed onto to, which is then transferred to the shirt. There are different types of transfer paper for different styles of transfer.
- Inkjet transfers: Inkjet printers don’t print white. Whatever part of your design is white will be shown as the color of the garment when heat pressed. You can work around this by choosing an off-white color (which can be printed) or using a white garment for pressing.
- Laser printer transfers: Laser printer paper is considered to yield somewhat worse results than inkjet paper.
- Sublimation transfers: This paper works with sublimation printers and special ink, so it is a more expensive option. The ink here turns into a gaseous state that penetrates the fabric, dying it permanently. It only works with polyester materials, however.
- Ready-made transfers: There is also the option of getting pre-printed images that you put in the heat press without doing any printing yourself.
Make sure you get the paper that works best for your situation and print it on the right side!
5. Preparing the Heat Press
No matter which heat press machine you’re using, it's easy to learn how to use it.
First, open the press to start getting prepared.
Next, set the temperature. Keep going until you reach your desired temperature. There is not a fixed number for temperature so make sure you look at your transfer paper packaging to be sure.
Next, set the pressure. Turn the pressure knob until you’ve reached the setting you want. Thicker materials usually require more pressure, while thinner ones don’t need it.
You should aim for medium to high pressure in all cases. It’s best to experiment a bit, however, until you’ve found the level that you think gives the best results. On some presses, a lower pressure setting makes it more difficult to lock down the handle.
6. Place Garment in the Press
The best practice for this step is to make sure that the material is stretched well and has no folds or creases.
You can use the heat press to preheat the garment and remove any wrinkles.
The purpose of stretching the material is to prevent the design from cracking down the line.
Take care that the side of the garment where you want to be printed is facing up. The t-shirt tag should be aligned to the back of the press. This will help place the print correctly.
Your printed transfer should be placed face-down on the garment, while embroidered designs should be placed adhesive side-down. You can place a towel or a piece of thin cotton fabric on top of your transfer as protection, although you don’t need to do this if your press has a protective silicone pad.
7. Transfer the Design
After properly placing the garment and print into the press, bring the handle down and begin.
Once it is locked in, set the timer based on your transfer papers instructions. It should be between 10 seconds and a minute.
After time has passed, take out the shirt and pull off the paper.
You can repeat the process now for new shirts if you’re making more of them.
If you want to add a print to the other side of the shirt you’ve already printed on, make sure to put a piece of cardboard inside it first. Use less pressure this time around to avoid reheating the first design.
Conclusion
After completing these heat press activities, you should allow your shirt 24 hours before washing it. This ensures that the design stays on properly.
When putting it through the laundry cycle, make sure the clothing is inside out to protect the design, and treat it delicately.
After that, it’ll be ready for sale or any event you want!
Looking to start? Click here to view our webpage dedicated to Heat Press Printing!
Happy pressing!
- Christmas Fun Starts with Custom Hoodies & Crewnecks Using DTF Printing
- Thanksgiving DTF Apparel: Create Cozy, Colorful, and Custom Looks This Holiday Season
- Halloween DTF Apparel: Create Spooky Custom Looks with Jerzees 562 and 996 from AllDayShirts.com
- The Ultimate Guide to Soft Style Gildan Fleece: Comfort, Style, and Value for Every Wardrobe
- Why Acrylic Beanies Are a Unique Challenge
- Jerzees Fleece: The Perfect Blend of Comfort, Style, and Value
- Back-to-School DTF Printing: The Ultimate Guide to Custom Apparel for Students and Schools
- Image Enhancer for DTF Printing: How to Unlock Sharper, Brighter, and More Professional Prints
- How to Apply UV DTF: The Complete Step-by-Step Guide
- Introducing Print-on-Demand Hats: Featuring the Richardson 112, Otto 5-Panel Mid Profile Cap & High Crown Mesh Back Trucker


