- Go to ADSCore
- Made in Italy

- Custom Apparel
- Most Popular
- Sublimation Ready
- $1.99 T-Shirts
- $4.99 Sweatshirts
- $5.99 Hoodies
- Track Order
Follow Us:


 All
All
 Go to Gildan
 Go to Richardson
 Go to Afton
 Go to Bella + Canvas
 Click Here To Shop
 Go to Comfort Colors
 View All
 Go to Next Level
 Go to Rabbit Skins
 Go to Jerzees
 Go to Hanes
 Go to Yupoong
 Go to Shakawear
 Go to Otto Cap
 Go to Port & Company
 Go to ADSCore
 Go for District
 Go for Sport Tek
 Go for Port Authority
 Go for dtfx
 Go to ADSCoreMade in
Posted by AllDayShirts on to Printing Techniques.
Tie-dye shirts and clothing aren't just remnants of the hippie era; their vibrant history can be traced all the way back to 4000 B.C. Throughout time, these tie-dye techniques have been a testament to individuality and unbridled creativity. Today, tie-dyed garments are as trendy as ever, providing a kaleidoscope of tie-dye colors for those eager to express themselves.
If you're yearning to learn how to tie-dye or start your own venture in this evergreen niche, you're in the right place. In this guide, we'll delve deep into the essentials – from the foundational white shirt, the crucial use of soda ash, to the myriad of dye powders available. We'll also uncover various patterns, tricks, and even the importance of bags or plastic wrap in the process. Ready to immerse yourself in the world of tie-dye? Let's dive in.
What Is Tie-Dye Printing?
Tie-dyeing is a process where you create color patterns in fabric through folding or scrunching. Once the clothing is tightly bound, it is treated with dye and left to set. Since the dye is prevented from accessing certain parts of the cloth, the result is a beautiful shirt with a varied color pattern.
Different colors and folding will have different visual effects. Although it can be used on many different fabrics, 100% cotton yields the best results.
For different background colors, it's possible to pick a shirt with neutral or light tones like this Gildan grey shirt. Even darker shades like black or royal blue work great when tie-dyeing with bleach instead of color.
Once the process is complete, you can add graphics or words using screen printing.
The materials required to start tie-dyeing shirts are pretty straightforward. In fact, you might have most of these lying around your house already:
A tie-dye kit is a great place to start because it comes with several colors and instructions. As you become more ambitious, you can expand your color range with store-bought dyes, such as Rit, to create cool shirts. You'll also need to purchase some squeeze bottles for the dye.
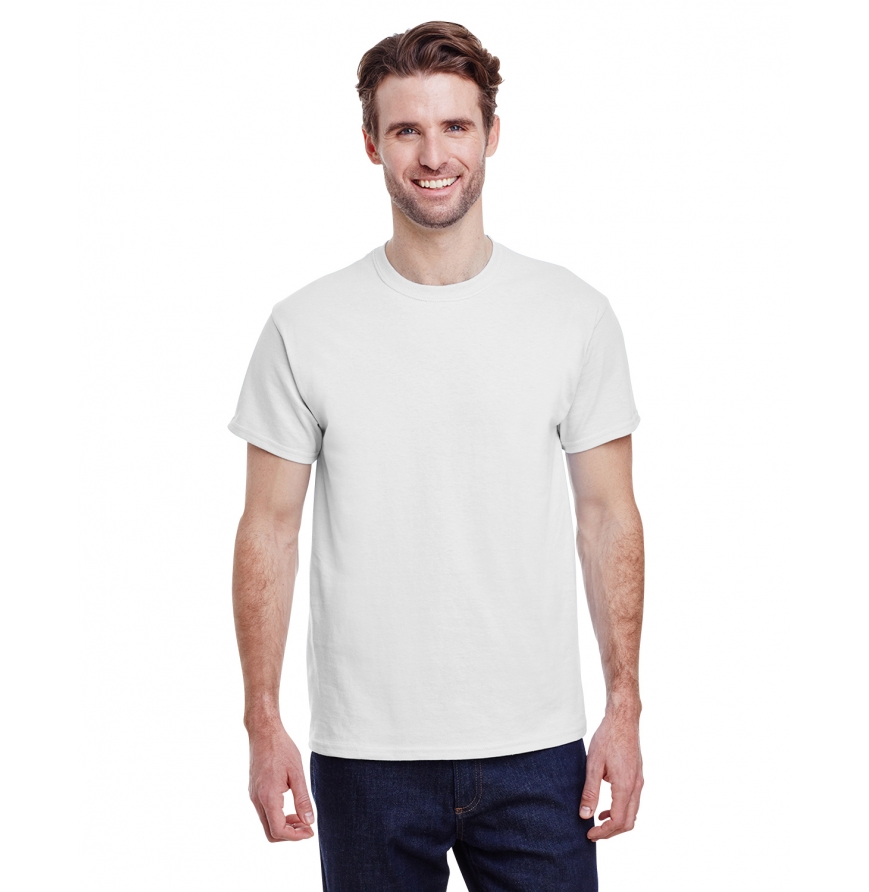
Make sure you stock up on high-quality materials before you start your creative journey. Cotton shirts are ideal because they absorb and bond well. We recommend Gildan or Next Level cotton shirts.
Gildan cotton shirts come in a variety of styles including heavy cotton, ultra cotton, and soft style fitted. This brand offers cotton shirts for everyone in the family including men, women, youth, and toddlers. It is a sturdy and reliable brand, ideal for this process.
If you're looking for something a bit more fitted, Next Level cotton t-shirts come in a slimmer women's ideal shirt, women's ideal v-neck, and a women's ideal racerback.
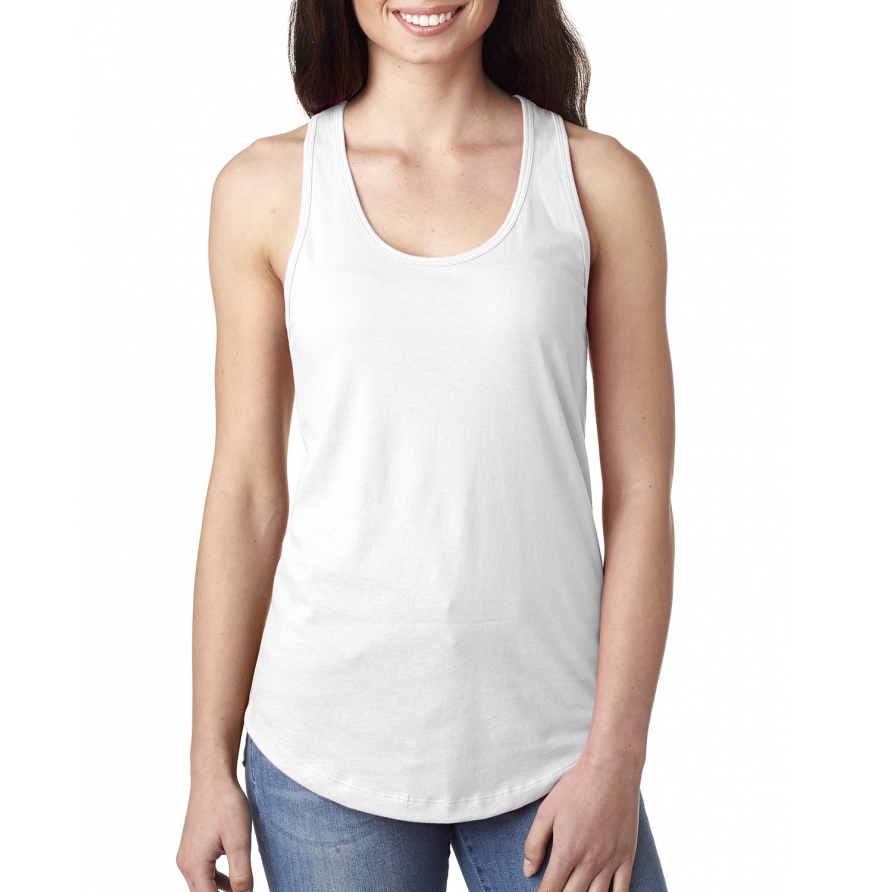
Next Level Women's Ideal Racerback Tank
Having a variety of styles and sizes at your disposal will allow you to cater to a wider customer base.
Once you have gathered your supplies, it's time to get your workstation prepped and start dyeing.
Cover your work area with a tarp or other protective material. Don't use cloth because the dyes can seep through and damage the surface below. Make sure you have enough space to work.
Prep your materials based on the directions included in the kit or on the box.
The last thing to do before you get started is to pick which pattern you want to do. There are so many creative ways to tie-dye shirts. Give your customers a variety of options with these cool pattern ideas.
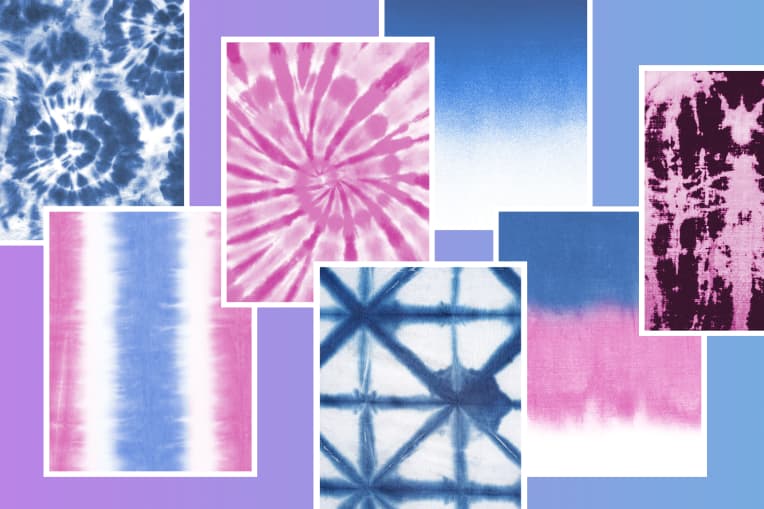
Fold, twist, or roll your shirt according to the pattern you have chosen and secure it with rubber bands. These will leave small patches of white that affect the overall look of the shirt. Remember to consider this when deciding where to place the bands.
Before you start dyeing, take a moment to think about your color scheme. Do you want something complimentary or contrasting?
Remember that as you work colors will blend. This doesn't mean you can't place green and purple on the same shirt. Just make sure to leave some space between the colors or add a transitional color to avoid ending up with a big brown mess.
Once you've made your decision, put on your gloves and start. Apply dye liberally to different areas of the shirt, separating the folds slightly so colors can soak in deeper. Start with lighter colors and work your way up to darker ones.
Once you've colored one side, flip it over and do the other. Make sure the entire bundle is well coated with few or no white patches. Don't worry, the white will show up as a result of the folding.
Once you're satisfied with the colors, cover your shirt or place it in a plastic bag and wait for the color to set. This process takes anywhere between one and 24 hours. As a rule of thumb, the longer it sits, the deeper the shade.
Once the shirt has set, put your gloves back on, remove the rubber bands, and rinse until the water runs clear. Be patient, this might take some time. This is a very important step as it removes all the excess color, preventing it from seeping into other areas of your shirt and ruining the design.
Then machine or hand wash each item separately with cold water and allow them to dry. A tumble drier is fine or you can set them out on a line. For some, the shirt dyeing process ends here, but for those interested in printing, continue to step four.
Sometimes you might want to leave the shirt as is but there is also the option of adding images or words. The easiest way to do this is with heat transfer vinyl. You can also use craft vinyl, a vinyl cutter, and fabric ink.
Depending on the intricacy of your image you can hand cut these into vinyl or use a computer cutting program. Make sure to design your vinyl patterns in reverse so that when you lay them onto your cotton shirts, they appear in the correct direction.
It's easy to go overboard when coming up with catchy slogans or logos. When you're first starting, it's best to pick two to five designs that are most likely to appeal to your customer base and test them out.
If you're just having a fun weekend tie-dyeing with the kids, then the outcome doesn't really matter. However, when you're planning to sell your tie-dye shirts, there are a few tricks that can help you create masterpieces.
The dye tends to spread farther when the garment is wet. This is great when you're working with heavier fabrics. However, to keep lines clean and sharp on thinner material, make sure the shirt is dry.
Give all your shirts a quick wash before dyeing. This removes any residues that could prevent the dye from soaking in. It also loosens up the fabric, making it easier to work with.
Zip ties are one of the best-kept secrets when it comes to tie-dye shirts. Rubber bands are traditionally the instrument of choice, but zip ties are easier to use and create cleaner lines.
Plastic or rubber gloves aren't just for protecting your hands from becoming the next rainbow. Rinse them between colors to prevent unwanted color spread. It's also good to keep a backup pair handy, just in case.
Remember, the dye will spread once you add it. Leave a little space between colors to prevent overmixing. It's also important to remember that with shirts tie-dyeing a little goes a long way.
Sometimes colors will bleed together to create a mix you might not have been expecting. To keep from getting an undesired shade, familiarize yourself with the color wheel. Utilizing complementary colors will help you create cool tie-dye shirts that people can't wait to buy.
Tie-dyeing wouldn't exist without folding and scrunching. Regardless of the design you choose, try to make your folds as neat as possible to maximize the effects and avoid big blobs of color.
When choosing your tie-dye fabrics, it's important to think about the look you're trying to create. Colors tend to bond better with cotton, so stick with 90% or above to keep things bright and popping.
For more muted colors, you could go with a cotton blend or natural fabric, such as hemp, silk, or wool.
There are two key components to setting up your own tie-dye business: your materials and promoting your product. Make sure that you are purchasing quality materials, such as 100% cotton shirts and strong dyes.
Promotion begins with selecting a selling platform. You might just be interested in peddling your products in person, like at a farmers' market. However, selling online will open you up to a wider range of customers and revenue sources.
Once you've decided where to sell your product—Amazon, Etsy, eBay, or another site—you'll need to work on your advertising platform. Start by figuring out your unique angle.
Do you take custom orders? Do you use eco-friendly dyes? If so make that a part of your tie dye shirts campaign.
Target customers using analytics tools and paid advertisements. Couple that with old-school methods such as flyers, business cards, and newspaper ads.
As you embark on your business venture, don't forget to get your quality cotton shirts from AllDayShirts.
Please email media@alldayshirts.com